
Installation
Installation instructions.
Mount the clear acrylic display carefully using a fastening method suitable for the actual wall.
Installation instructions
Mount it carefully.
The correct wall fastener depends on the wall. Use fasteners suitable for the substrate and completed display weight, and check for concealed services before drilling.
Work on a clean, soft surface. Keep the protective film in place until instructed. Do not overtighten acrylic. Use a second person for larger layouts.
Typical tools
- level and measuring tape
- pencil
- drill and wall-appropriate bit
- hand screwdriver
- clean microfiber cloth
Confirm first
- the layout and selected holder fit
- the wall location and clearances
- the supplied parts are complete
- the wall can accept the chosen fasteners
Position the template
Level the supplied drilling template, secure it temporarily, and mark all four hole centres. Recheck level and diagonal alignment.
Prepare the wall
Drill and install fasteners suitable for the actual wall substrate. Do not use an anchor simply because it fits the hole.
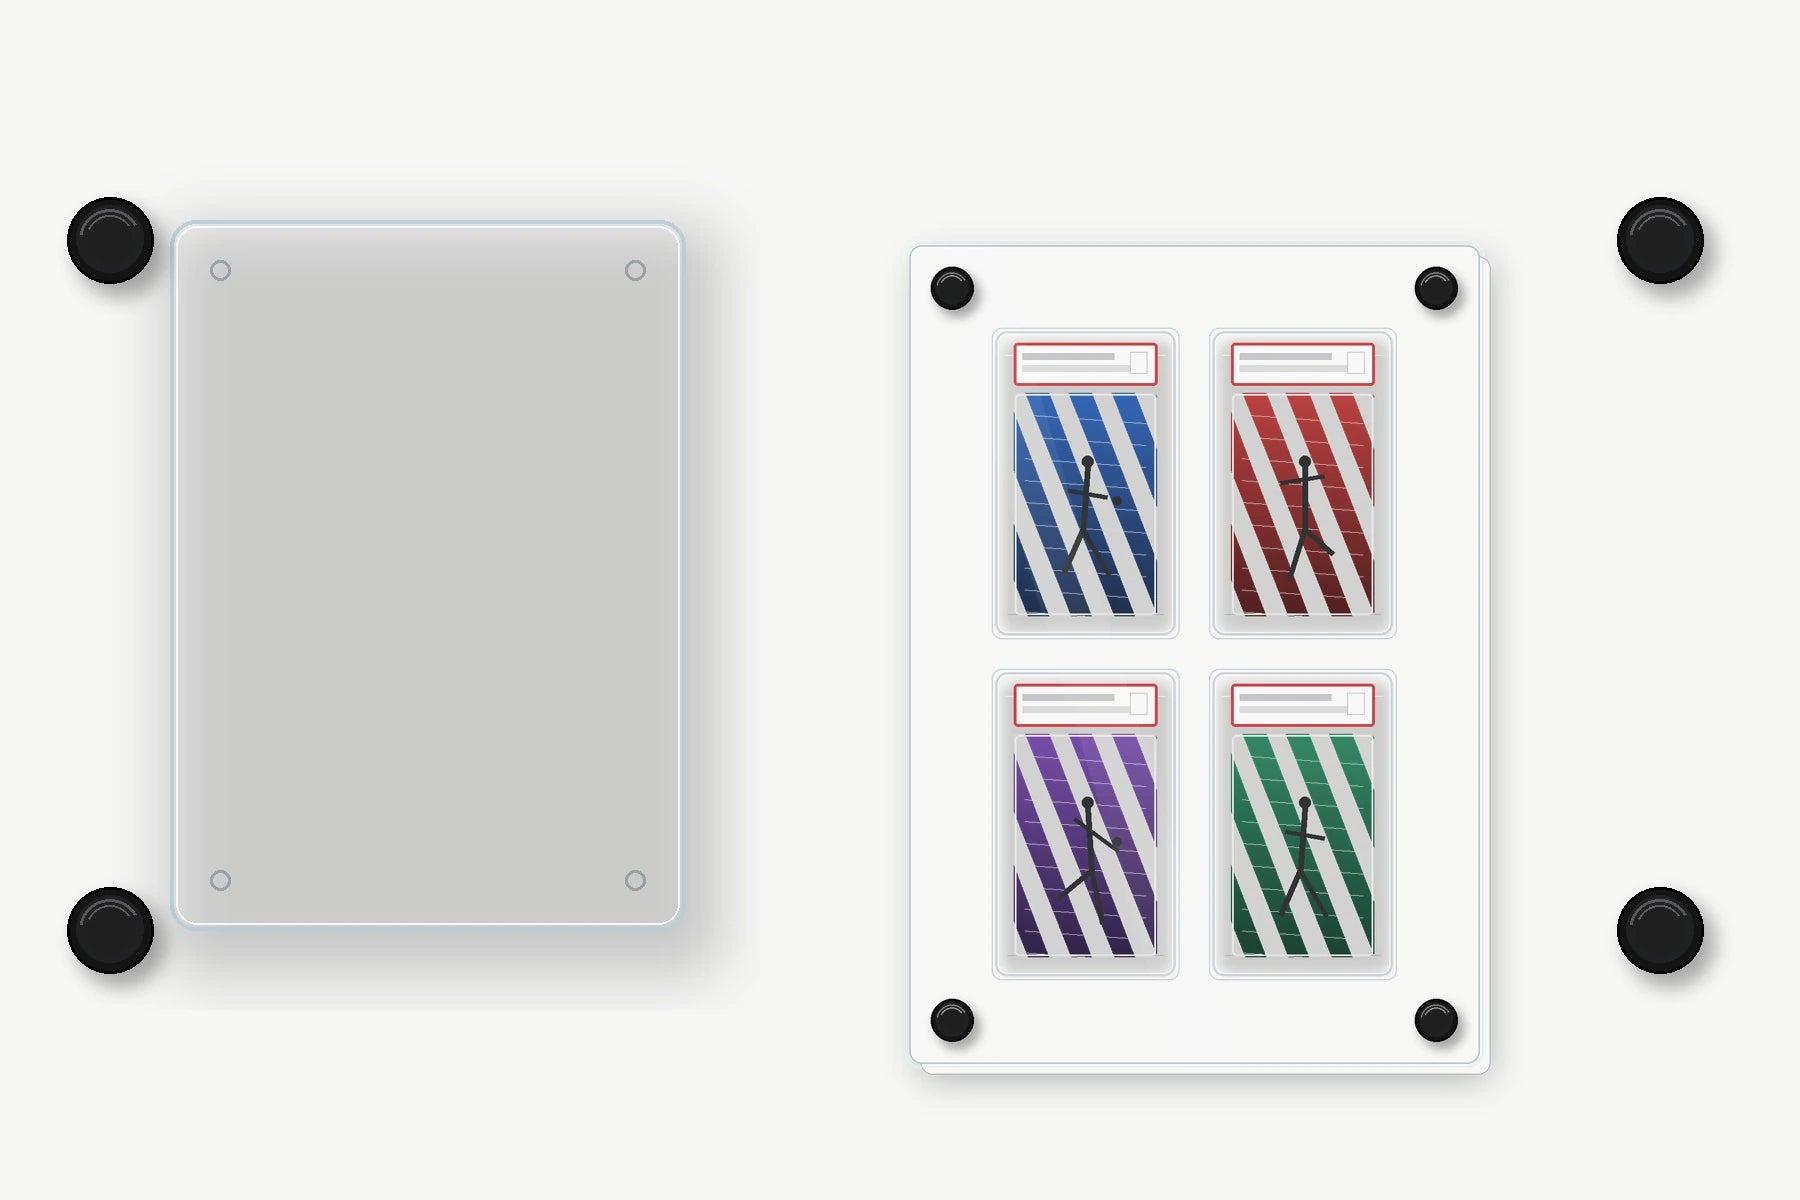
Install the standoff barrels
Fasten the four matte-black barrels to the wall. Confirm they are level, secure, and aligned before placing acrylic.
Place the middle layer
Support the 9+mm clear acrylic middle on all four mounting points. The cutouts should face forward and match the selected holder format.
Load the holders
Remove dust from the interior surfaces and place each Snap Mag case, PSA slab, or BGS slab into its opening without force.
Add the front plate
Align the 3mm clear acrylic front over the four mounting points while supporting it evenly.
Install the caps
Start all four black caps before tightening any one cap fully. Hand-tighten evenly until secure. Do not overtighten.
Final check
Confirm the display is level, every cap is engaged, the acrylic is unstressed, and the wall hardware does not move.
Changing cards
Leave the middle layer mounted.
Support the front plate, loosen the four caps gradually, remove the front, exchange the holders, and reinstall the plate and caps evenly by hand.
Contact support